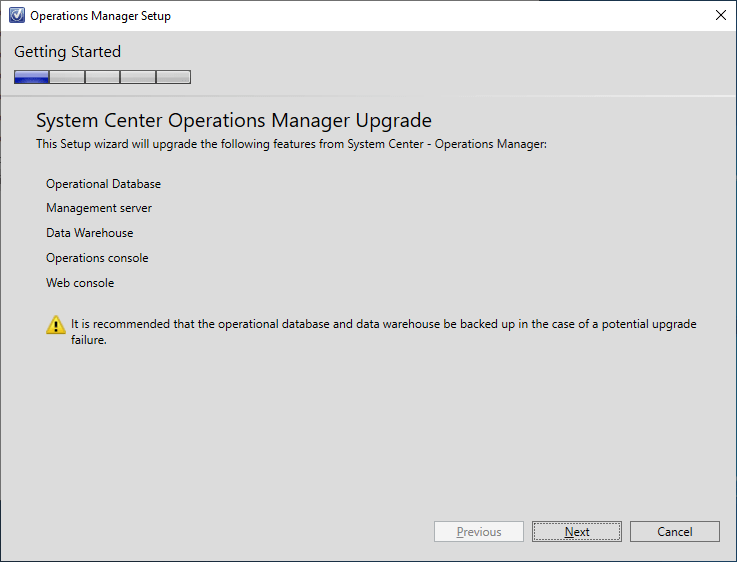
With the release of SCOM 2022 I wanted to take the opportunity to blog about my experience with performing an in-place upgrade of SCOM 2019 to SCOM 2022. In my environment I tried to mimic what I have encountered in the real-world. Below is what I will be upgrading in this blog.
Links for reference: You will need to read through these to prepare your environment for the upgrade.
-
Note: client requires .Net Framework 4.7.2
- Post-Upgrade tasks when upgrading to System Center Operations Manager
My Environment:
Domain Systems:
1 – Availability Group – OperationsManager Database
1 – Availability Group – OperationsManagerDW Database
3 – Management Servers
1 – Reporting Server
1 – GW
17 – Windows Agents
2 – Linux Agents
DMZ:
2 – Gateway Servers
5 – Windows Agents
1 – Linux Agent
With SCOM 2022, gMSA is now supported out of the box. Since I already updated my SCOM 2019 to use gMSA accounts, this blog will be using the gMSA accounts for the upgrade.
- After downloading the iso, extract the exe.
- You will want to run the installation using an Administrative Command prompt.
- The install splash screen will open. Click Install

-
If you click the download update, you will see the install checking for updates. This will take a moment.

-
It is recommended to back up the databases prior to the upgrade.
-
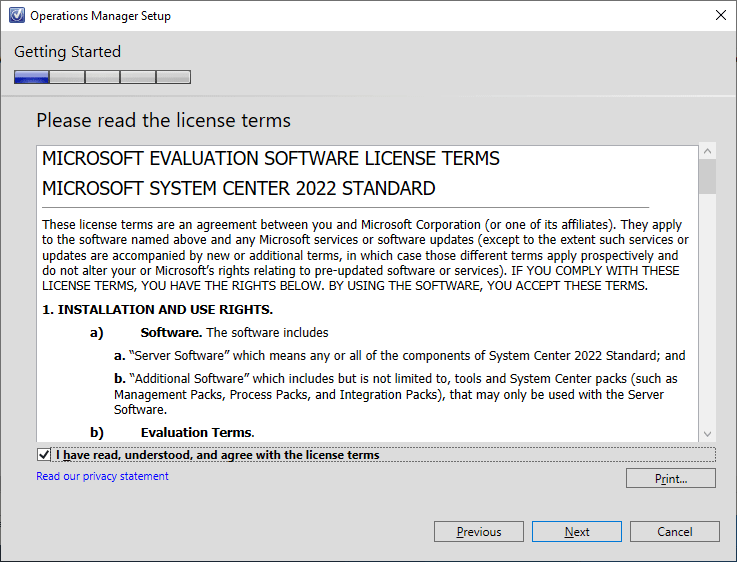
Accept the agreement.

-
Select the installation location.

-
Verify the prerequisites passed.

-
Specify the DAS account

-
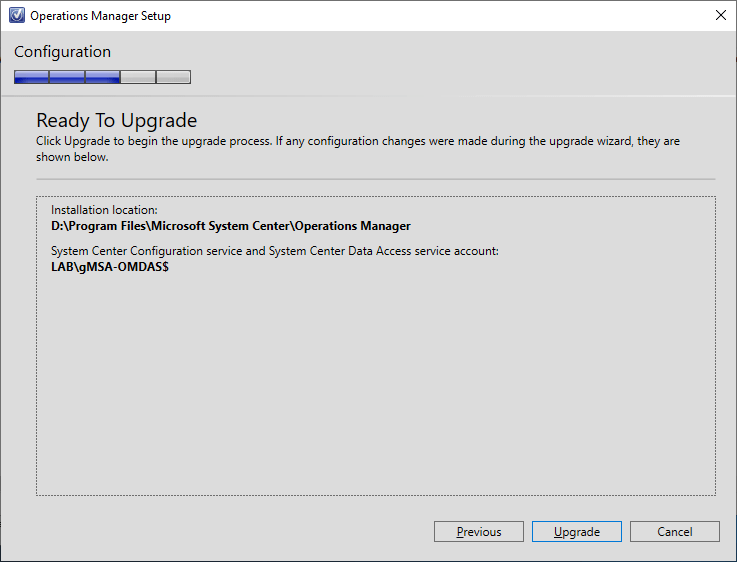
Ready to upgrade.

-
Now go enjoy a cup of coffee or tea while Operations Manager upgrades. This process took just over 60 minutes in my lab.

-
The initial installation has been completed successfully.
Note: You will notice a Information next to Management Server. This is telling you that the license key will need to be re-entered.

-
Now that the initial installation has been completed, proceed on with upgrading the rest of the Management Servers BEFORE PROCEEDING TO STEP 14.
- To upgrade the rest of the Management Servers, run the installation again.
-
I will be showing how to do this through the command prompt:

-
The upgrade will know which components need to be upgraded

-
Accept the agreement
-
Specify the installation path.

-
Verify the Prerequisites are installed

-
Specify the DAS Account.

-
Review and Upgrade. This installation went much faster and only took 4 minutes
-
*Upgrade Gateway(s) – msiexec /i MOMgateway.msi /qn /l*v C:\logs\GatewayUpgrade.log AcceptEndUserLicenseAgreement=1
-
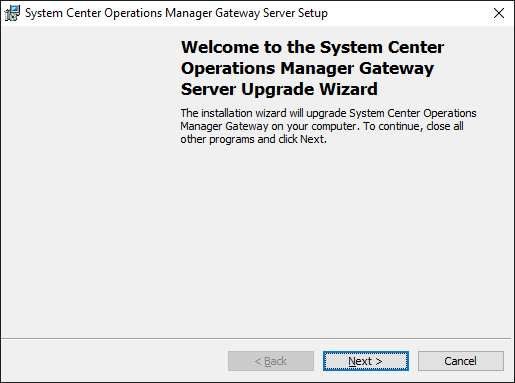
I am using the GUI to show the upgrade process

-
The splash screen will appear.
-
Read the notice

-
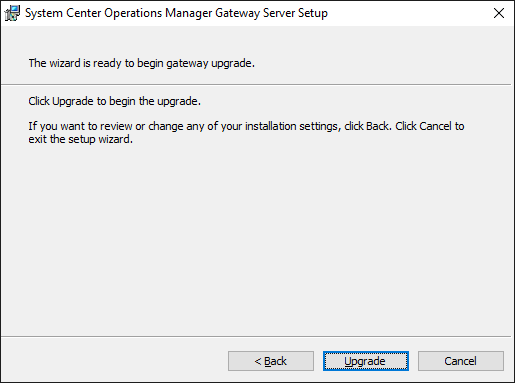
Upgrade
-
Finish

-
- Upgrade and remaining Consoles – Setup.exe /silent / upgrade /AcceptEndUserLicenseAgreement:1
-
Push install to agent(s) / upgrade manually installed agents
-
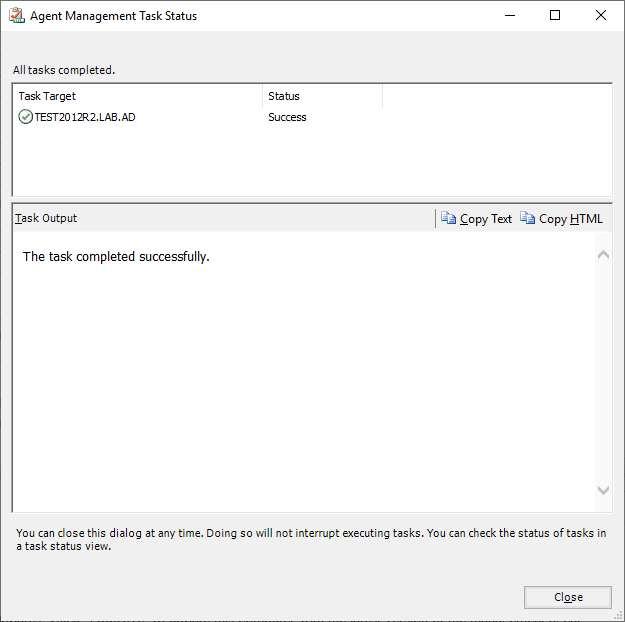
All the agents will drop into Pending Management. Select the agents to upgrade them.

-
Test Agent
-
You can verify the agents have been updated. I am using Kevin Holman’s SCOM Admin Pack

-
- Upgrade Web Console
-
Upgrade Reporting Server setup.exe /silent /AcceptEndUserLicenseAgreement:1 /upgrade /ManagementServer: <ManagementServerName>
-
The upgrade will detect what needs to be upgraded on the reporting server

-
Accept the agreement

-
Provide an installation path

-
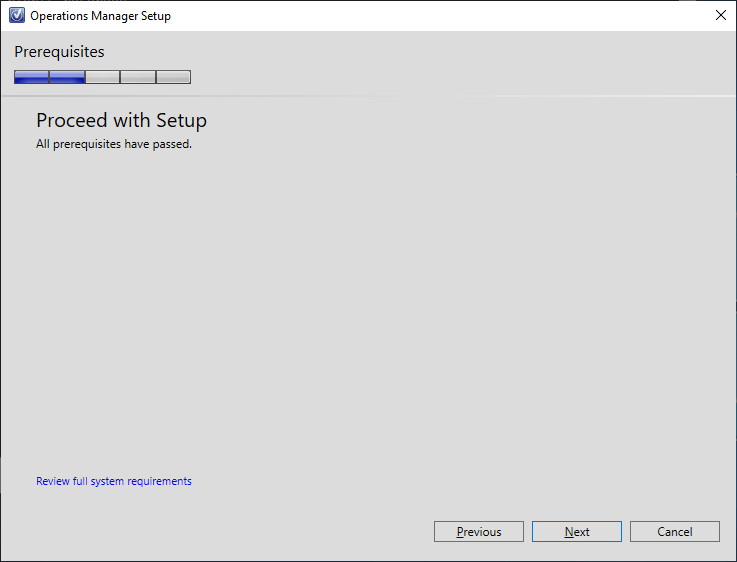
Verify the Prerequisites.
-
Verify

-
Setup has completed

-
-
Ensure the Databases upgraded to 10.22.10118.0

-
Verify the Management Servers have been upgraded

-
Verify the Operations Consoles have been upgraded

-
Verify the Gateways have been upgraded

-
Verify the Web Server(s) have been upgraded

-
Verify the Reporting Server has been upgraded

-
Verify the Windows Agents have been upgraded or are starting to upgrade. The RTM agent is 10.22.10056.0

-
Verify the Linux Agents have been upgraded or are starting to upgrade


-
Look through event viewer to be sure everything is clean.

- Perform Post-Upgrade Tasks
